
Autumn is here, and Halloween is on the horison! One exciting Halloween tradition is carving pumpkins. It's more than just a fun activity; it's great for your wellbeing!
Here're Some Wellbeing Benefits of Family Pumpkin Carving
-
Connecting and Bonding: Pumpkin carving is a group activity that brings families closer. When you all sit together, share ideas, and create a pumpkin masterpiece, it makes you feel more connected and strengthens family bonds. It's also a great way to make lasting memories.
-
Boosting Creativity: Carving a pumpkin is an artistic adventure that lets your imagination run wild. Everyone, from kids to grown-ups, can show their creative side by designing unique pumpkin faces. It's a fantastic way to inspire and nurture your artistic talents.
-
Relieving Stress: Pumpkin carving is hands-on and relaxing. Focusing on carving and feeling the pumpkin's textures can be like a calming meditation. It helps reduce stress and keeps you mindful and relaxed.
-
Fostering a Sense of Accomplishment: Completing a pumpkin carving project is a big achievement. It's something you can be proud of, especially for kids who see their creative efforts turn into a beautifully carved pumpkin.
Choosing the Right Pumpkin
Picking the perfect pumpkin is the first step. We'll show you how to choose the right one, considering size, shape, and surface quality. You'll learn how to pick a pumpkin that fits your carving plans.
-
Size Matters: Consider the size of the pumpkin. Smaller pumpkins are easier to carve, making them a great choice for beginners or when carving with children. Larger pumpkins provide more surface area for intricate designs but require more time and effort.
-
Shape: Look for a pumpkin with a shape that matches your carving idea. Some pumpkins are round, while others may have elongated or irregular shapes. Choose one that complements your design.
-
Surface Quality: Inspect the pumpkin's surface. It should be smooth and free of blemishes, bruises, or soft spots. A clean surface makes carving and design transfer easier.
-
Stem Condition: Check the stem of the pumpkin. A strong, sturdy stem indicates a fresher pumpkin. Avoid pumpkins with dry, brittle, or damaged stems.
-
Colour: While orange is the classic pumpkin color, some may have variations. Choose a pumpkin with a vibrant and consistent color. Avoid pumpkins with dull or uneven colouring.
-
Sound Test: Give the pumpkin a gentle tap. It should sound hollow, indicating that it's not overripe or too soft.
-
Weight: Pick up the pumpkin and feel its weight. It should feel heavy for its size, indicating that it has thick, dense flesh. Lighter pumpkins may have thinner walls, making them less ideal for carving.
-
Variety: Consider exploring different pumpkin varieties. Some have unique colours, shapes, and textures that can add an interesting twist to your carving project.
Carving Your Pumpkin
Step 1: Gather Your Supplies. Before you begin, make sure you have all the necessary supplies:
- Pumpkin
- Pumpkin carving kit or tools (kitchen knife is good too)
- Bowl
- Marker or pen
- Candle or LED candle (for illumination)
Step 2: Cut the Lid. Start by cutting a lid from the top of the pumpkin. Use a sharp knife and a bowl. Cut at a slight angle to create a lid that won't fall into the pumpkin. Remove the lid and set it aside.

Step 3: Scoop Out the Seeds. Scoop out the pumpkin's seeds and stringy pulp using a spoon. Place the seeds in a bowl for later roasting if desired.

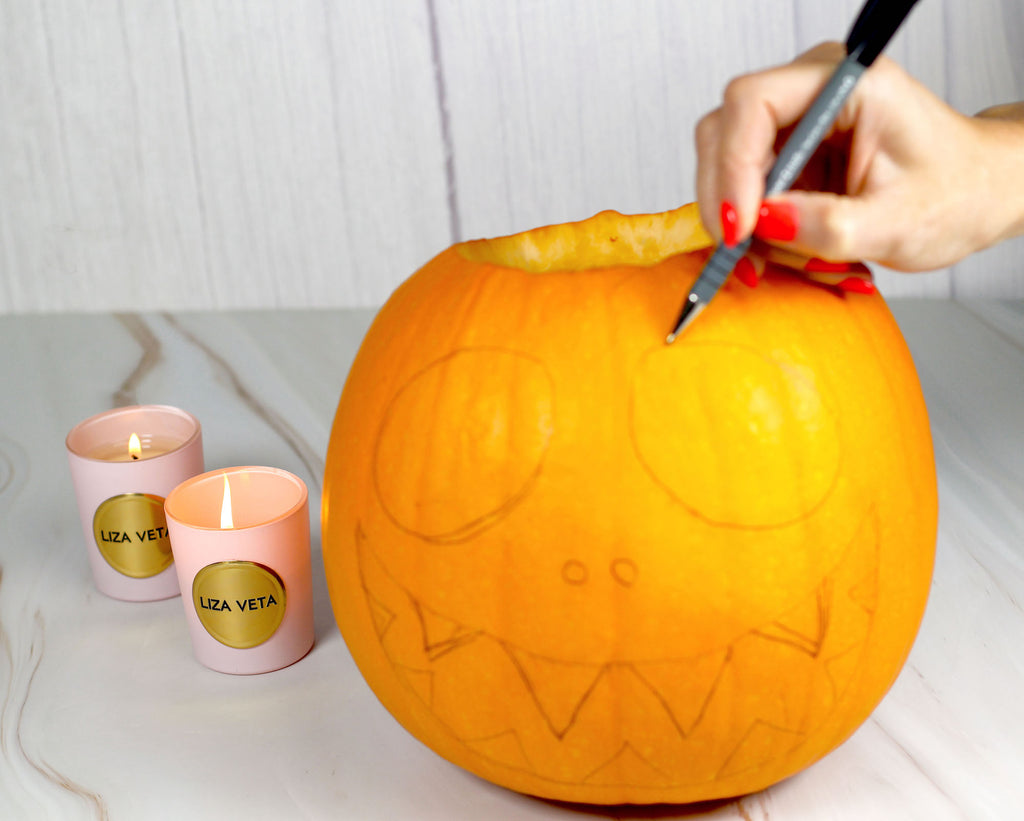
Step 4: Design Your Face. With a marker or pen, draw your desired face or design on the pumpkin's surface. You can keep it simple with a classic jack-o'-lantern face or get creative with intricate patterns.
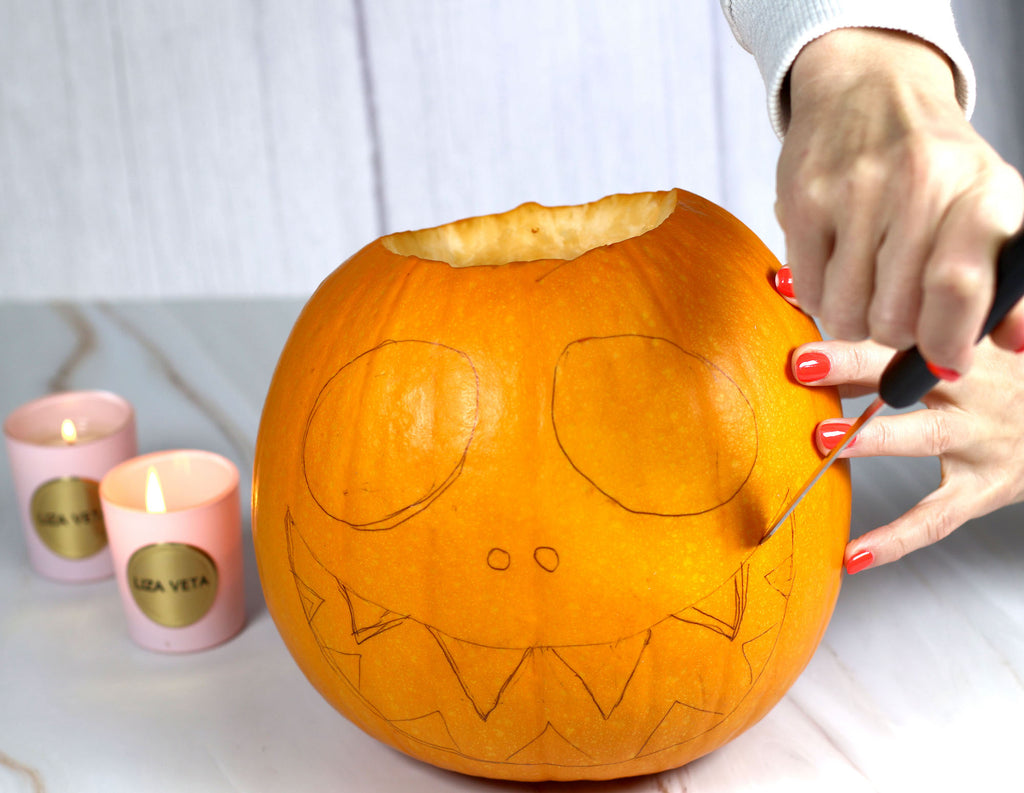
Step 5: Carve the Design. Carefully carve along the lines you've drawn. Use the appropriate tools from your kit or a small kitchen knife, and remember to cut away from yourself to avoid accidents. Start with larger sections and work your way to smaller details.
Step 6: Clean Up Edges and Illuminate Your Pumpkin. After carving, clean up the edges by scraping away any remaining bits of pumpkin skin to make your design stand out. Place our scented with essential oils mini candle to enhance your halloween experience or LED candle inside the pumpkin.
Pumpkin carving is a fantastic Halloween tradition that brings families together, boosts creativity, relieves stress, and creates a sense of accomplishment. With our guide, you can choose the right pumpkin, carve your masterpiece, and light it up to capture the Halloween spirit. So, gather your family, pick your pumpkins, and enjoy a creative, bonding, and wellbeing-boosting Halloween season. Happy carving!
For more wellbeing topics, check out these other posts: